Voltage Drop Testing Headlight Circuit

Voltage Drop Testing Headlight Circuit

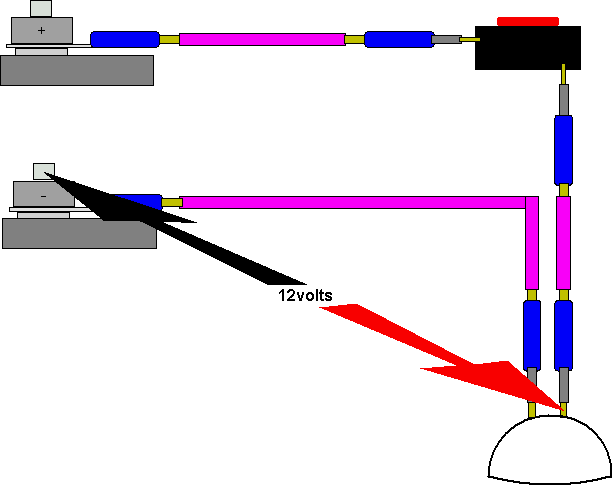
In the image above, starting at the bulb connector, (headlights on of course) check voltage available at the bulb connector positive terminal, (the terminal on the bulb, not in the connector) this checks the voltage from the headlight switch which may also be the problem (make sure negative probe from meter goes to ground at battery). If you see close to battery voltage, the bulb is getting full power from the switch, through the connector terminal to the bulb and you have eliminated that as a problem.

Now check to see how much voltage is dropped across the bulb, (at the bulb terminals not the connector) and you should see the same amount, if you see around 4- 6 volts, you have a bad ground circuit at the bulb.

Start checking the ground circuit side beginning at the back of the socket at the terminal with negative probe, positve to the ground side teminal of the bulb now go to the ground side terminal of the bulb connector with the positive probe of the voltmeter, negative probe to the negative post of the battery, start checking each connection of the ground all the way out to the sheet metal its connected to. Make sure you don't miss any connection along the way, and soon you will find the cause of the high resistance by seeing a large amount of voltage drop, probably on the order of 4 to 6 volts. So Simple.